
So I drilled a hole in the side of my house today! I mentioned in a previous post that I'd got a permanent UHF/VHF aerial up on the roof. The next step was getting something more permanent setup for HF. I've been trying a few different aerials - but to use them I've had to run a bit of coax out the door and leave the door open. It's been colder here the last few weeks - so leaving the door open has been a little sub-optimal, as well as the cable running across the floor and the deck. Which has also thus limited how much time I have put into building and try different HF antennas.
The way my shack is setup my desk is against a wall that is actually the rear wall of the house - so I just needed to go straight through that wall. Looking online and chatting to a few folk it seemed the way to go was similar with what you see for a phone or internet connection coming into a house. One of those little grey weather resistant boxes attached to the house with the cable coming into that and then through the wall. So that's what I did!
I ordered the following box and some pre-terminated coax (with PL259 connectors):
I have a SDS masonry drill (team yellow), but I did need to buy a bigger bit for the SO239 to fit:
We built this house - so luckily, I know where all the water and electrical go - and know there is nothing in this wall to worry about. I measured a couple of times, drilled the hole with a smaller bit first, and then the bigger bit. This probably wasn't required - but I figured it couldn't hurt:
I then needed to get the box ready - which was easier to do before it was mounted to the wall. I wasn't sure on sizing for the different holes I needed (cable in from the wall and female to female SO239) so I grabbed a scrap bit of MDF and drilled a fed different sized holes to try:
With that I drilled a hole in the bottom of the box for the female to female and a hole in the back for the cable to come in:
I put the female to female off centre - so there is space for other connectors in the future... With that done I wanted the actual cable through the wall and plate on the interior wall next. I poked a very long screw driver carefully through the external hole and put a small hole through the plasterboard on the inside. This was a little fun to get to on the inside as it's behind a rather large desk and a bunch of stuff - so the photos are at some weird angles sorry:
I cut a rectangular (ish) hole out and brought the cable through and then put on the faceplate to tidy it up:
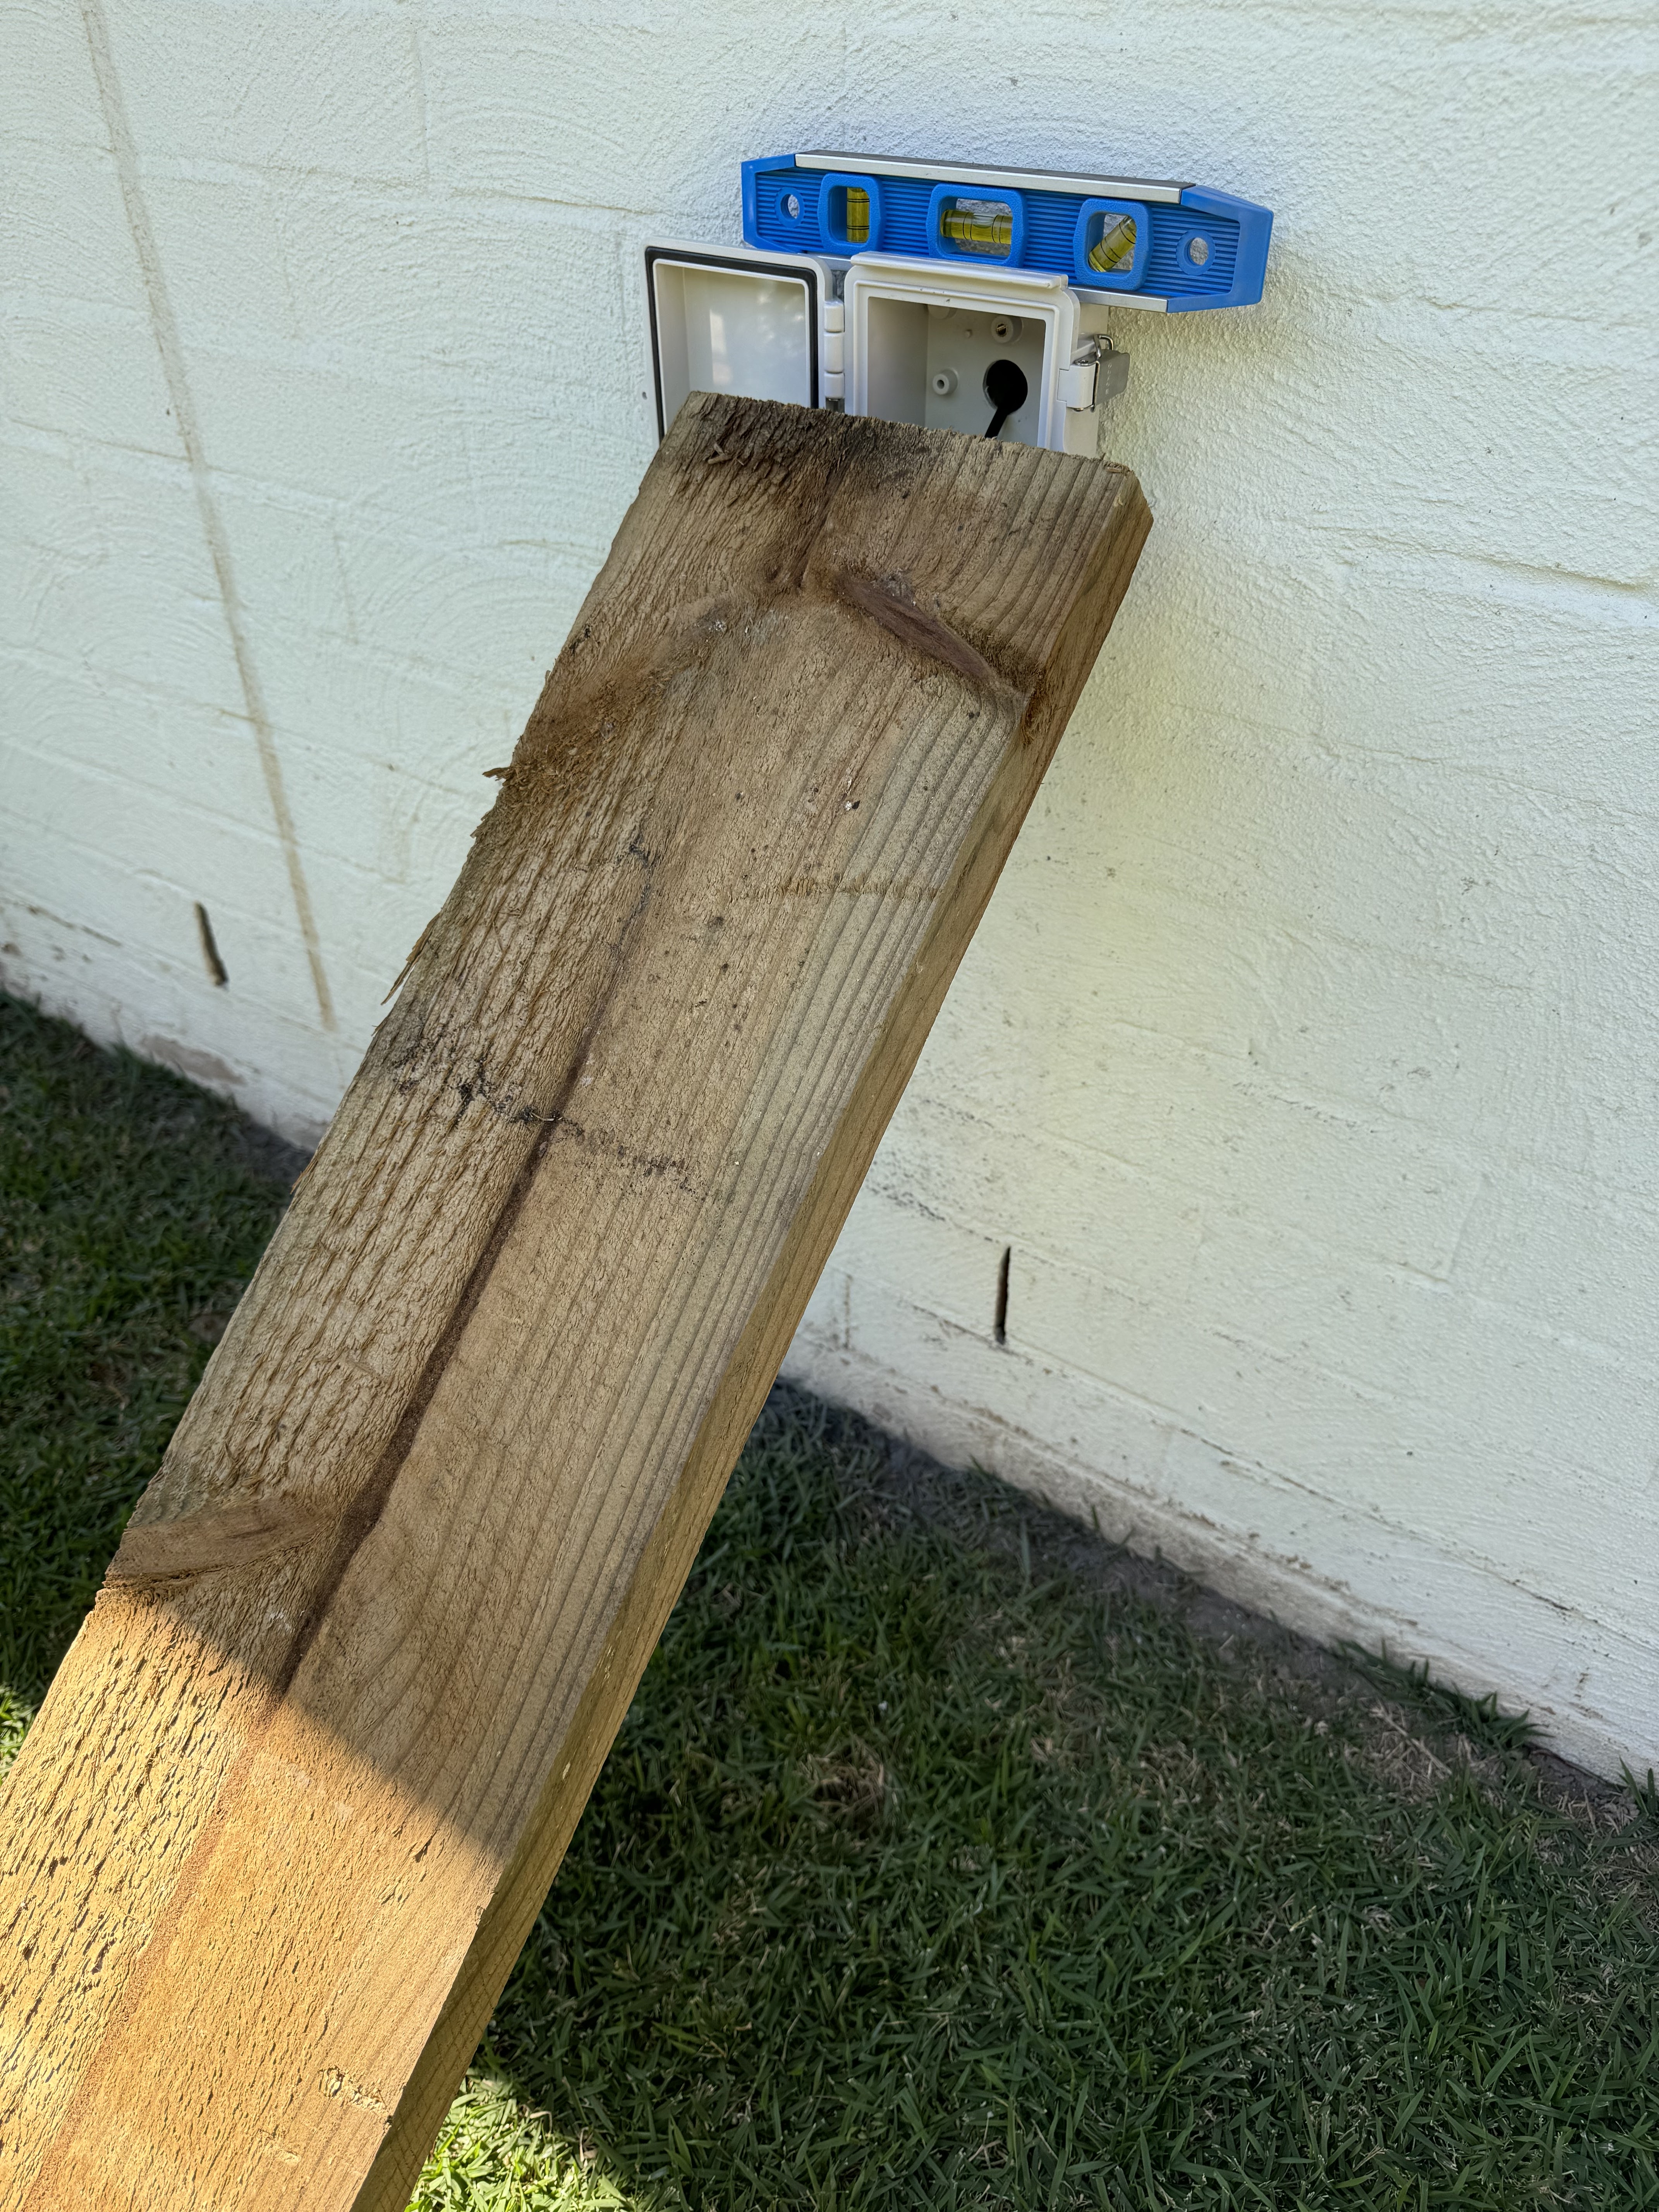
With that done it was back outside to stick the box on. My plan here given how light the little plastic box is and that it won't need to support much was just to use some liquid nails to stick it to the wall, and then some silicon around the outside to keep the water out.
This was where things didn't go exactly to plan. I don't know if it's just my memory, or maybe I used a different type of liquid nails last time, but I opened the tube, put a decent bead on the back of the box and stuck it to the wall. I was expecting to hold it for 5 to 10 minutes and then be able to let it go. Unfortunately after 20 minutes it was still moving slowly when I let it go. I didn't have anyone around at the time to help, so I had to pull it off and grab a bit of wood and rest it against the box to hold it while it set. This is also why there aren't any photos before the piece of wood!
I left that for most of the day to setup while I tidied everything up. I went out later this afternoon and ran some silicon around the outside edge and took a final photo, I put the wood back in place and will leave it there for 24 hours or so just for a little extra pressure:
I did briefly try it out today and it works well! I've run the inside cable in through a new hole in the back of the desk and it pops out right where I need it too! Next step on my home HF adventures will be trying a few different antennas to see if I can find the best option for something "semi" permanent in the back yard. Stay tuned :)


Comments
Post a Comment