Sunday 26 June 2022

Nixie Clock!

I've wanted a nixie clock for a long time.  A good mate and I talked about doing it over 10 years ago now - and he ordered some IN14 nixies that arrived and sat on a shelf until a couple of weeks ago when he mentioned he'd come accross them.  This was all either of us needed to finally order some clock kits and get going.  So I ordered two of the IN14 kits from nixie diy.  They took a couple of weeks to arrive.  We met up this week to swap some nixies for a kit - and I got a couple hours to sit down this morning and built the clock - and it is fricken awesome.   All through hole work with the only surface mount part pre-soldered on the kit when it arrived.  The manual for the kit is well laid out with some keey points to stop and test the build as you go.  So there was nothing to it but to dust off the soldering iron and get going!


From left to right:  Kit, acrylic case, 6 nixie tubes in bubble wrap.


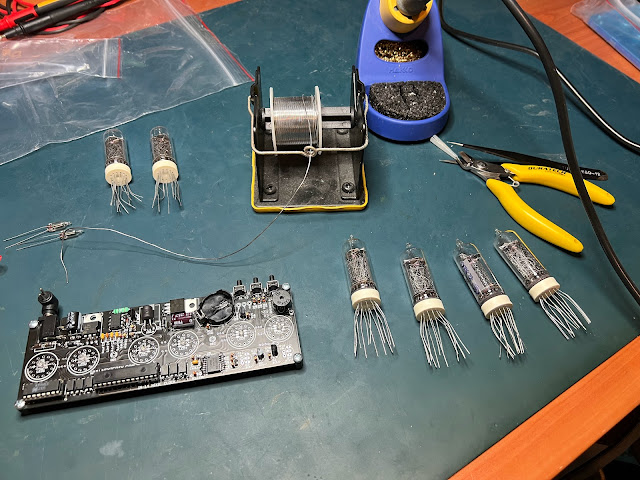
Shot of the bare PCB before I started:

I completed the low and then high voltage supply components and test the high voltage (between 165-170v).  Passed first go!


I kept soldering until the next test point - all six blue LEDs.


And it was then time to have a go at the nixies.  I was a little nervous with these things but it ended up being all pretty straight forward (just a little fiddly given how bent up the legs were).


I powered the clock on at that point and to my suprise it worked exactly as expected.  When you first power the clock up it goes through a test cycle that showed that all tubes were 100% functional.  I then pulled the protective film off all of the acrylic and put the case together.  And that's it!


A video of the startup sequence to round this one out:

No comments:

Post a Comment

Nixie Clock!

I've wanted a nixie clock for a long time.  A good mate and I talked about doing it over 10 years ago now - and he ordered some IN14 nix...