A little more maintenance
So a lot has happened with the little C64 since my last post. I've tried to take photos of everything I've been doing, as well as some video. It's given me a HUGE appreciation for what it must take to produce the quality of videos that I am used to watching on YouTube. I knew it took work, but wowsers. So thank you to all those makers/hackers/tinkerers I enjoy watching on YouTube. Onto the work!
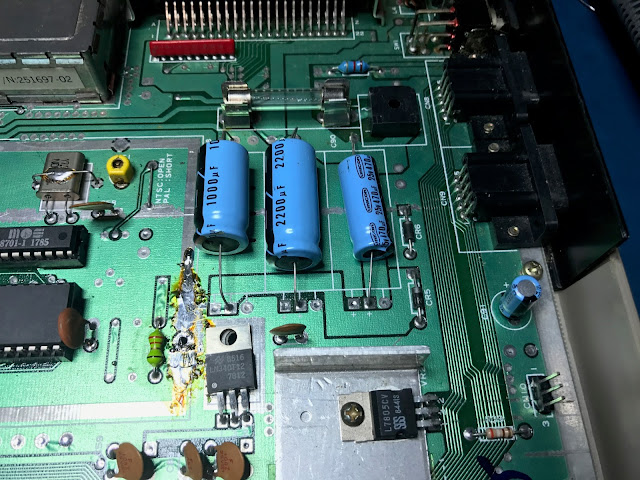
So first stop was a capacitor replacement. This revision only has six electrolytic capacitors - and it was another chance to use my FR300. Original caps:


I'd ordered replacement caps while I was waiting for the PLA and FR300 to arrive (hoping that the PLA would fix things - lucky it did!):

The FR300 made quick work of the old caps. Although as suggested in a few places online I did have to crank it up a bit more for the negative terminals on the larger caps - the ground plane in the board really absorbed quite a bit of heat:

Once that was done I gave one or two holes a quick clean (most didn't need it) and soldered in the shiny new caps:


At this point I plugged the board back in and powered it up - to see this:

I'm not going to lie - my heart sank a little. I had that brief second of "I've killed it". It's the reason I had decided not to socket all the other ICs that were currently working - I didn't want to break something that was already working. That feeling only lasted a second though. I powered the C64 off and triple checked all the new caps were in the right spot with the right polarity with solid connections. No issues found. After checking a few other things for some reason I thought "maybe it's just the screen" so I power cycled the LCD:

What a relief! So with the cap replacement finished it was time to try out something else I had purchased in preparation for a working C64:

My thought process being that if there were any other issues with the logic board I'd like to find them now (and fix them) before I clean the board up and button the case back up for a while. The manual that came with the test cart and cables was pretty awesome, talking through each test that is runs and what a failure might mean. So I plugged it in and fired it up:

And got the following test result (with multiple tests):

I had a look at the page of the documentation around what that Keyboard error meant and started looking at the connectors and tracks mentioned in the documentation and noticed that some of the connectors inside the test connector for the keyboard header were a little high and might not be making a solid connection. So I pushed them down with a tiny screwdriver and tried again:

Boom! So with that sorted next was cleaning the logic board with special attention on the cassette and user port connectors as well as installing heatsinks on all the major ICs:


That's the logic board sorted. Last part before reassembly was the keyboard. As I mentioned in my last post it was barely functioning. I googled around and watched a couple of YouTube videos of people disassembling and cleaning C64 keyboards. Then I got to work on mine, removing it from the case first:


Then removing all of these little screws from the back to remove the PCB:

You then need to desolder the shift lock key before you can remove the PCB:


I cleaned the pads on the PCB as well as the pads on the bottom of each of the key switches with some isopropyl alcohol and cotton tips. I then put the keyboard back together to give it a test:

Each key worked with a very light touch including the space bar. "Hello World!" worked like a charm. One bit of cleaning now remained before I could reassemble the C64 - the top of the keyboard:

It's not super visable in that photo - but there was roughly thirty years worth of gunk in there. I removed all the keys and gave the base a good clean:


Once that was done I reassembled the keyboard - cleaning each key individually as I went:


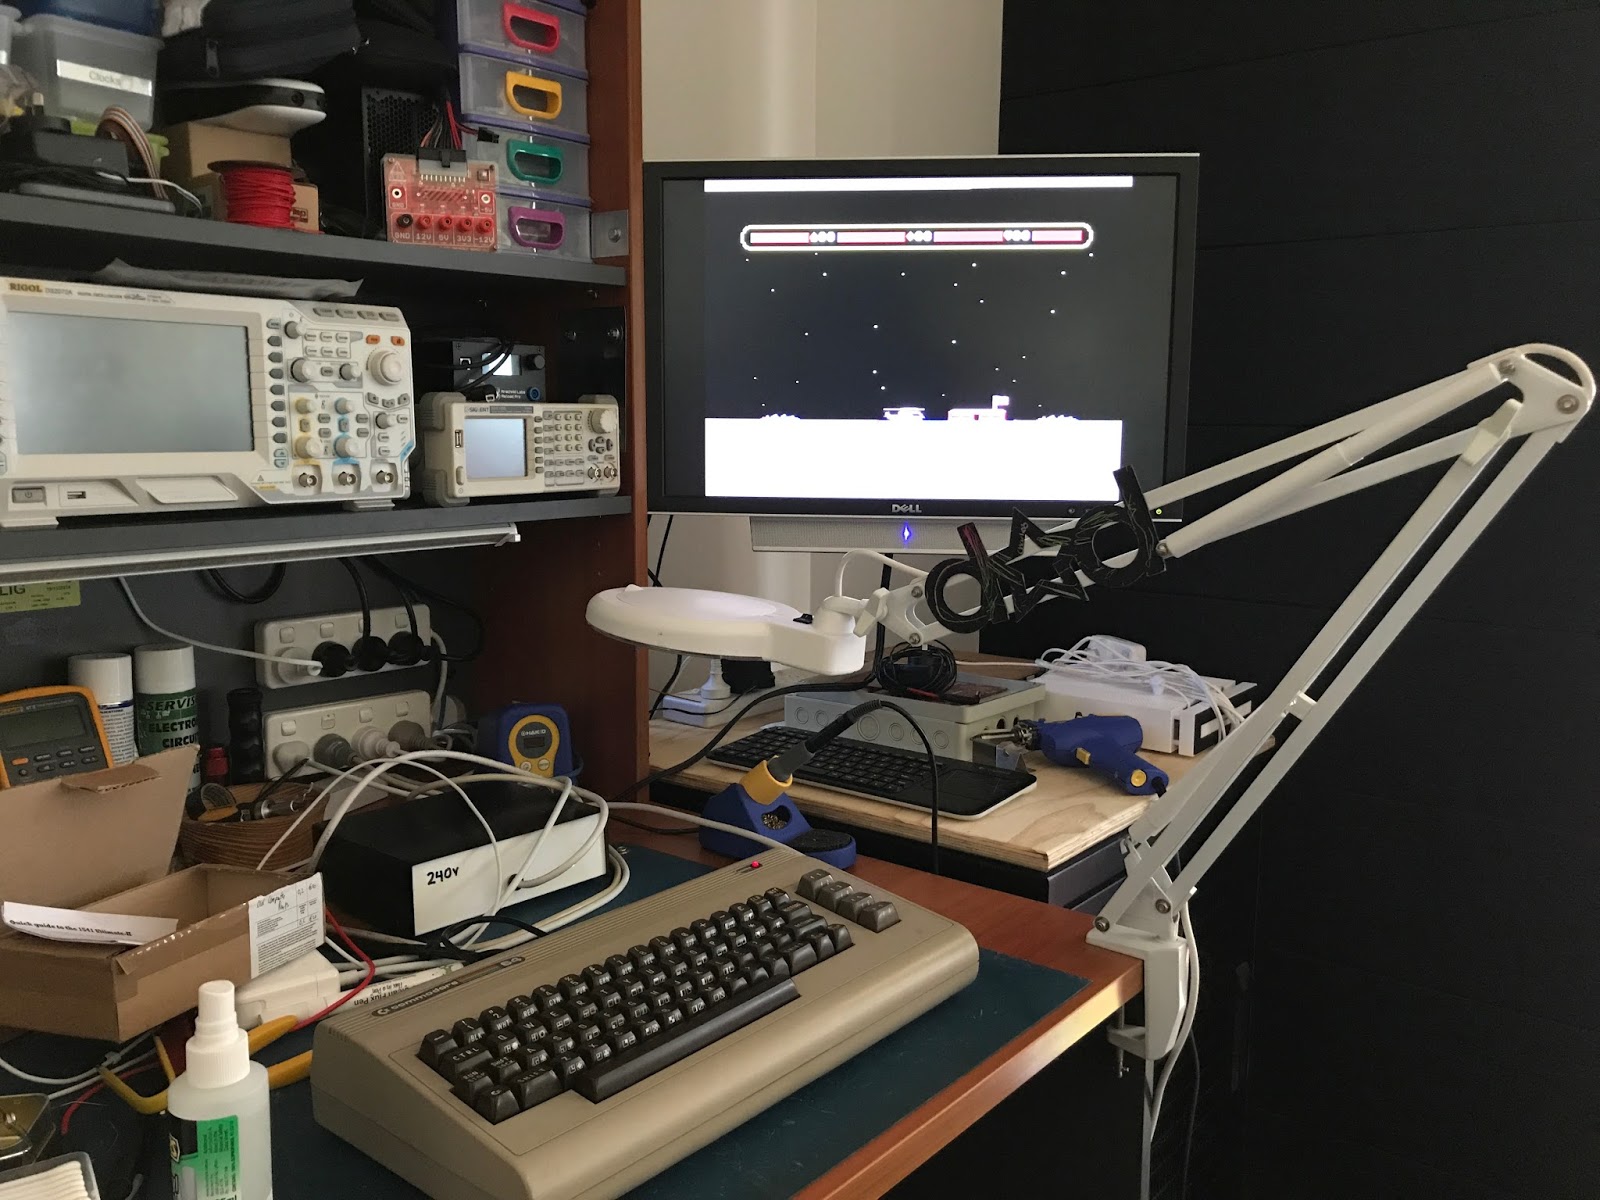
That was it. Cleaning done. I put the whole lot back together. I only just now realised I didn't take a close up shot of the C64 post cleaning and assembly. Needless to say it's a LOT cleaner - and with the PLA, caps and heatsinks done should be good to go for a while. So I'll end with a shot of Choplifter instead!

So first stop was a capacitor replacement. This revision only has six electrolytic capacitors - and it was another chance to use my FR300. Original caps:


I'd ordered replacement caps while I was waiting for the PLA and FR300 to arrive (hoping that the PLA would fix things - lucky it did!):

The FR300 made quick work of the old caps. Although as suggested in a few places online I did have to crank it up a bit more for the negative terminals on the larger caps - the ground plane in the board really absorbed quite a bit of heat:

Once that was done I gave one or two holes a quick clean (most didn't need it) and soldered in the shiny new caps:


At this point I plugged the board back in and powered it up - to see this:
I'm not going to lie - my heart sank a little. I had that brief second of "I've killed it". It's the reason I had decided not to socket all the other ICs that were currently working - I didn't want to break something that was already working. That feeling only lasted a second though. I powered the C64 off and triple checked all the new caps were in the right spot with the right polarity with solid connections. No issues found. After checking a few other things for some reason I thought "maybe it's just the screen" so I power cycled the LCD:

What a relief! So with the cap replacement finished it was time to try out something else I had purchased in preparation for a working C64:

My thought process being that if there were any other issues with the logic board I'd like to find them now (and fix them) before I clean the board up and button the case back up for a while. The manual that came with the test cart and cables was pretty awesome, talking through each test that is runs and what a failure might mean. So I plugged it in and fired it up:

And got the following test result (with multiple tests):
I had a look at the page of the documentation around what that Keyboard error meant and started looking at the connectors and tracks mentioned in the documentation and noticed that some of the connectors inside the test connector for the keyboard header were a little high and might not be making a solid connection. So I pushed them down with a tiny screwdriver and tried again:
Boom! So with that sorted next was cleaning the logic board with special attention on the cassette and user port connectors as well as installing heatsinks on all the major ICs:


That's the logic board sorted. Last part before reassembly was the keyboard. As I mentioned in my last post it was barely functioning. I googled around and watched a couple of YouTube videos of people disassembling and cleaning C64 keyboards. Then I got to work on mine, removing it from the case first:


Then removing all of these little screws from the back to remove the PCB:

You then need to desolder the shift lock key before you can remove the PCB:


I cleaned the pads on the PCB as well as the pads on the bottom of each of the key switches with some isopropyl alcohol and cotton tips. I then put the keyboard back together to give it a test:

Each key worked with a very light touch including the space bar. "Hello World!" worked like a charm. One bit of cleaning now remained before I could reassemble the C64 - the top of the keyboard:

It's not super visable in that photo - but there was roughly thirty years worth of gunk in there. I removed all the keys and gave the base a good clean:


Once that was done I reassembled the keyboard - cleaning each key individually as I went:


That was it. Cleaning done. I put the whole lot back together. I only just now realised I didn't take a close up shot of the C64 post cleaning and assembly. Needless to say it's a LOT cleaner - and with the PLA, caps and heatsinks done should be good to go for a while. So I'll end with a shot of Choplifter instead!


Comments
Post a Comment